Securing your WordPress website is crucial to protect it from various threats and vulnerabilities. One of the most effective ways to enhance security is by adding HTTP security headers. These headers help protect your website from attacks like cross-site scripting (XSS), clickjacking, and more. This guide will walk you through different methods to add these headers, either manually with code or easily using the Security Header plugin developed by Inspired Monks.
Why are HTTP Header Important?
HTTP headers play a vital role in safeguarding your website. They provide instructions to the browser on how to handle content and prevent malicious behaviors, ensuring a safer browsing experience for your visitors. Key threats that security headers can mitigate include:
- Cross-Site Scripting (XSS)
- Clickjacking
- Content sniffing attacks
- MIME-type misinterpretations
Now, let’s look at how to add these headers to your WordPress site using code or with our user-friendly plugin.
Adding HTTP Security Header Using Code
For advanced users who are comfortable editing code, you can manually add security headers to your WordPress site. Here’s how:

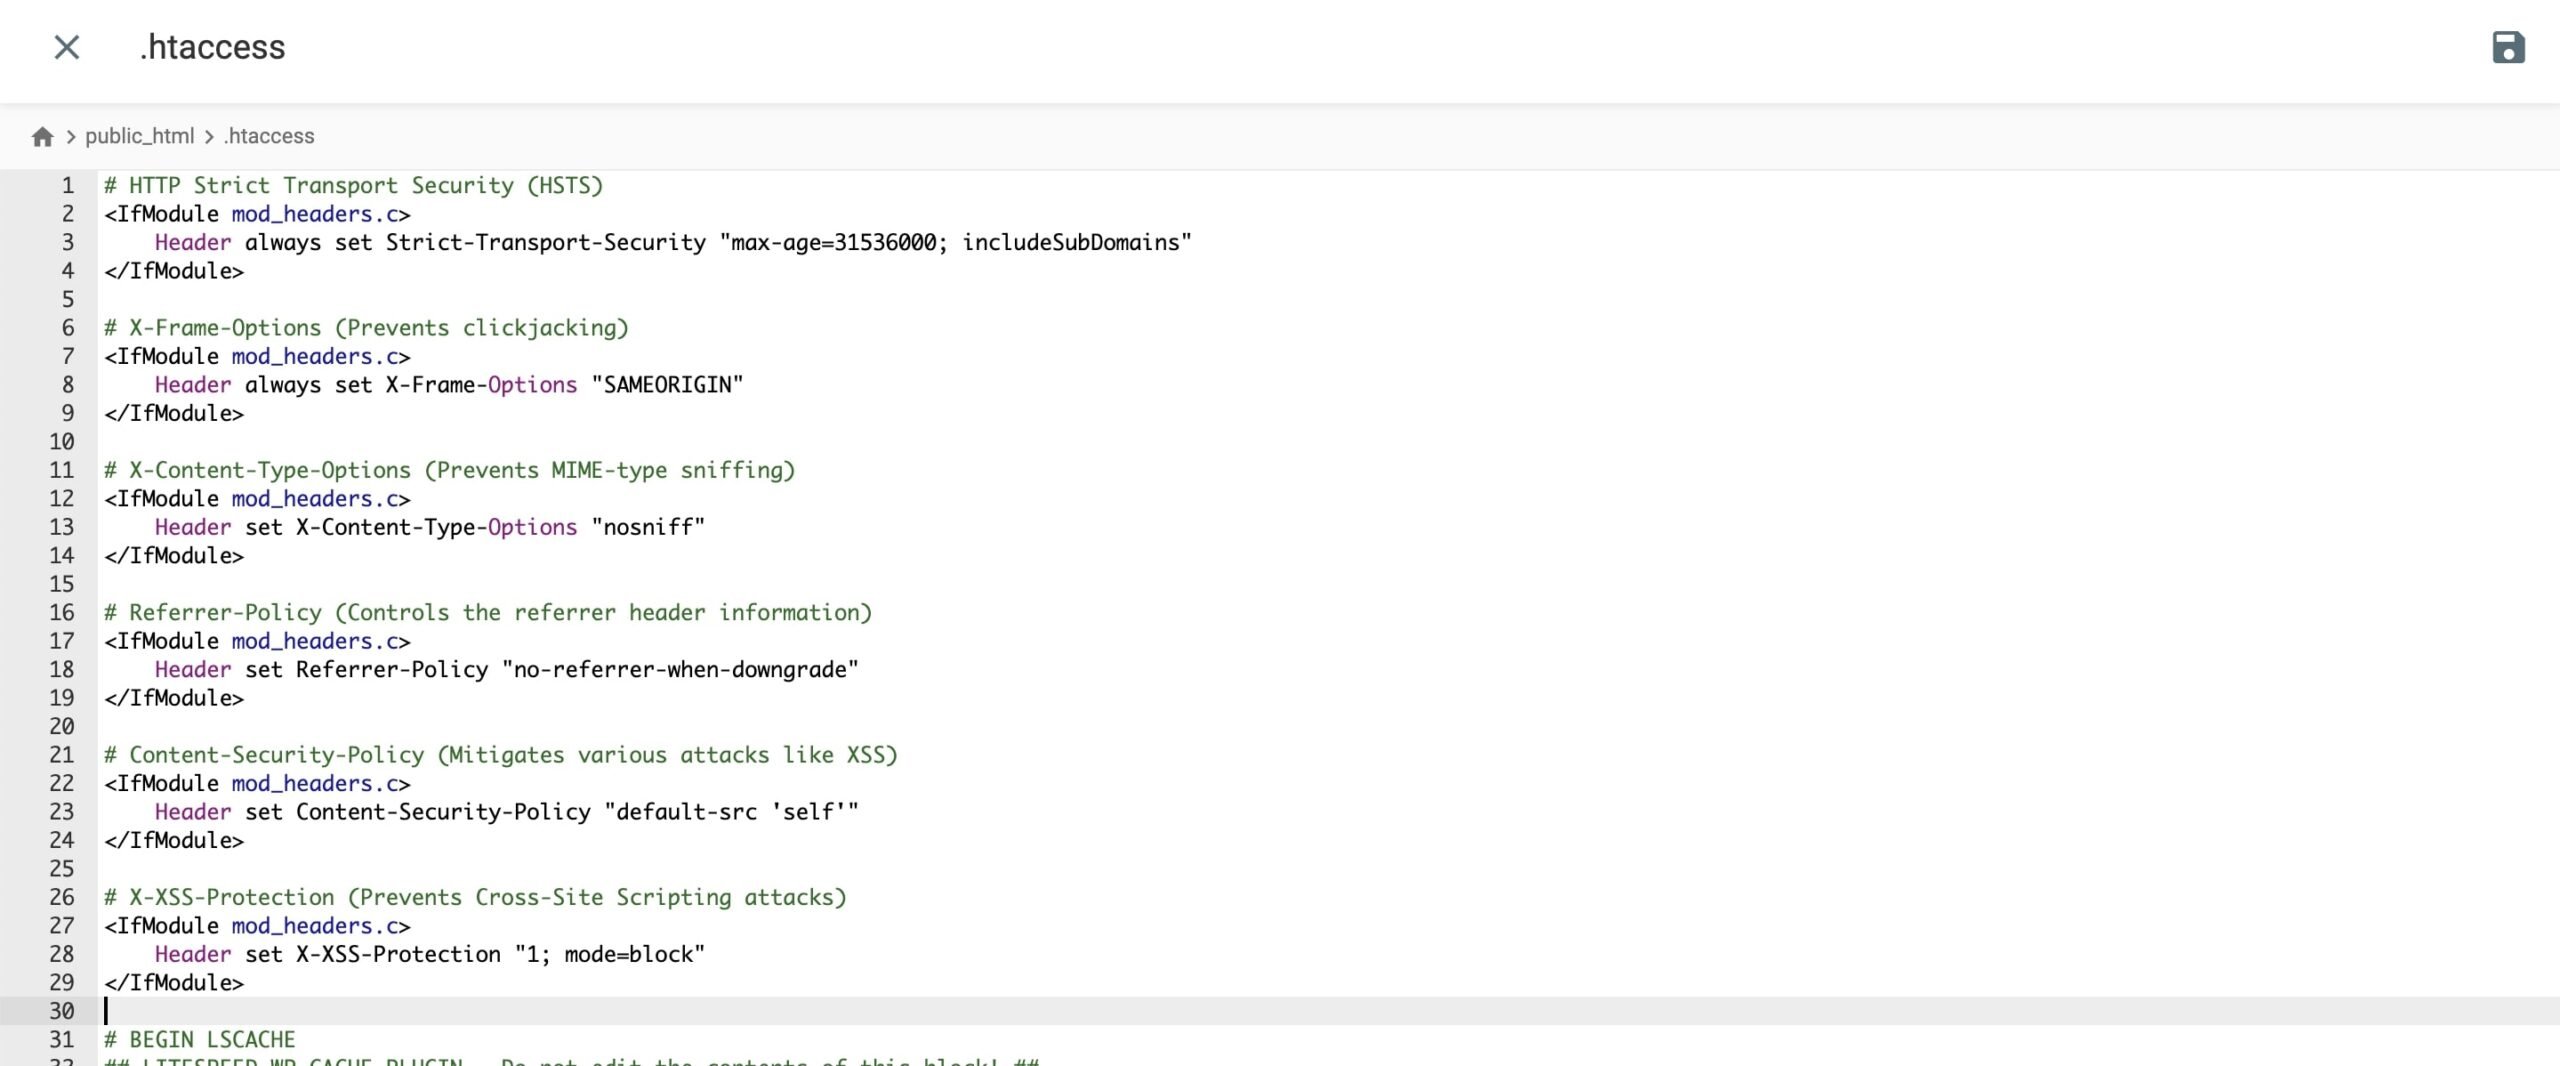
1. Edit the .htaccess File
If your website is hosted on an Apache server, you can modify the .htaccess file to add security headers. Be sure to back up your website before making any changes.
- Connect to your website using an FTP client or your web hosting control panel.
- Locate and open the
.htaccessfile in the root directory. - Add the following code snippets for each security header:
# HTTP Strict Transport Security (HSTS)
<IfModule mod_headers.c>
    Header always set Strict-Transport-Security "max-age=31536000; includeSubDomains"
</IfModule>

# X-Frame-Options (Prevents clickjacking)
<IfModule mod_headers.c>
    Header always set X-Frame-Options "SAMEORIGIN"
</IfModule>

# X-Content-Type-Options (Prevents MIME-type sniffing)
<IfModule mod_headers.c>
    Header set X-Content-Type-Options "nosniff"
</IfModule>

# Referrer-Policy (Controls the referrer header information)
<IfModule mod_headers.c>
    Header set Referrer-Policy "no-referrer-when-downgrade"
</IfModule>

# Content-Security-Policy (Mitigates various attacks like XSS)
<IfModule mod_headers.c>
    Header set Content-Security-Policy "default-src 'self'"
</IfModule>

# X-XSS-Protection (Prevents Cross-Site Scripting attacks)
<IfModule mod_headers.c>
    Header set X-XSS-Protection "1; mode=block"
</IfModule>- Save your changes and upload the file back to your server.
2. Edit the functions.php File
For sites hosted on servers that don’t use .htaccess, you can add headers directly in the functions.php file of your active theme:
function add_security_headers() {
    header("Strict-Transport-Security: max-age=31536000; includeSubDomains");
    header("X-Frame-Options: SAMEORIGIN");
    header("X-Content-Type-Options: nosniff");
    header("Referrer-Policy: no-referrer-when-downgrade");
    header("Content-Security-Policy: default-src 'self'");
    header("X-XSS-Protection: 1; mode=block");
}
add_action('send_headers', 'add_security_headers');
Adding HTTP Security Headers Using a Plugin
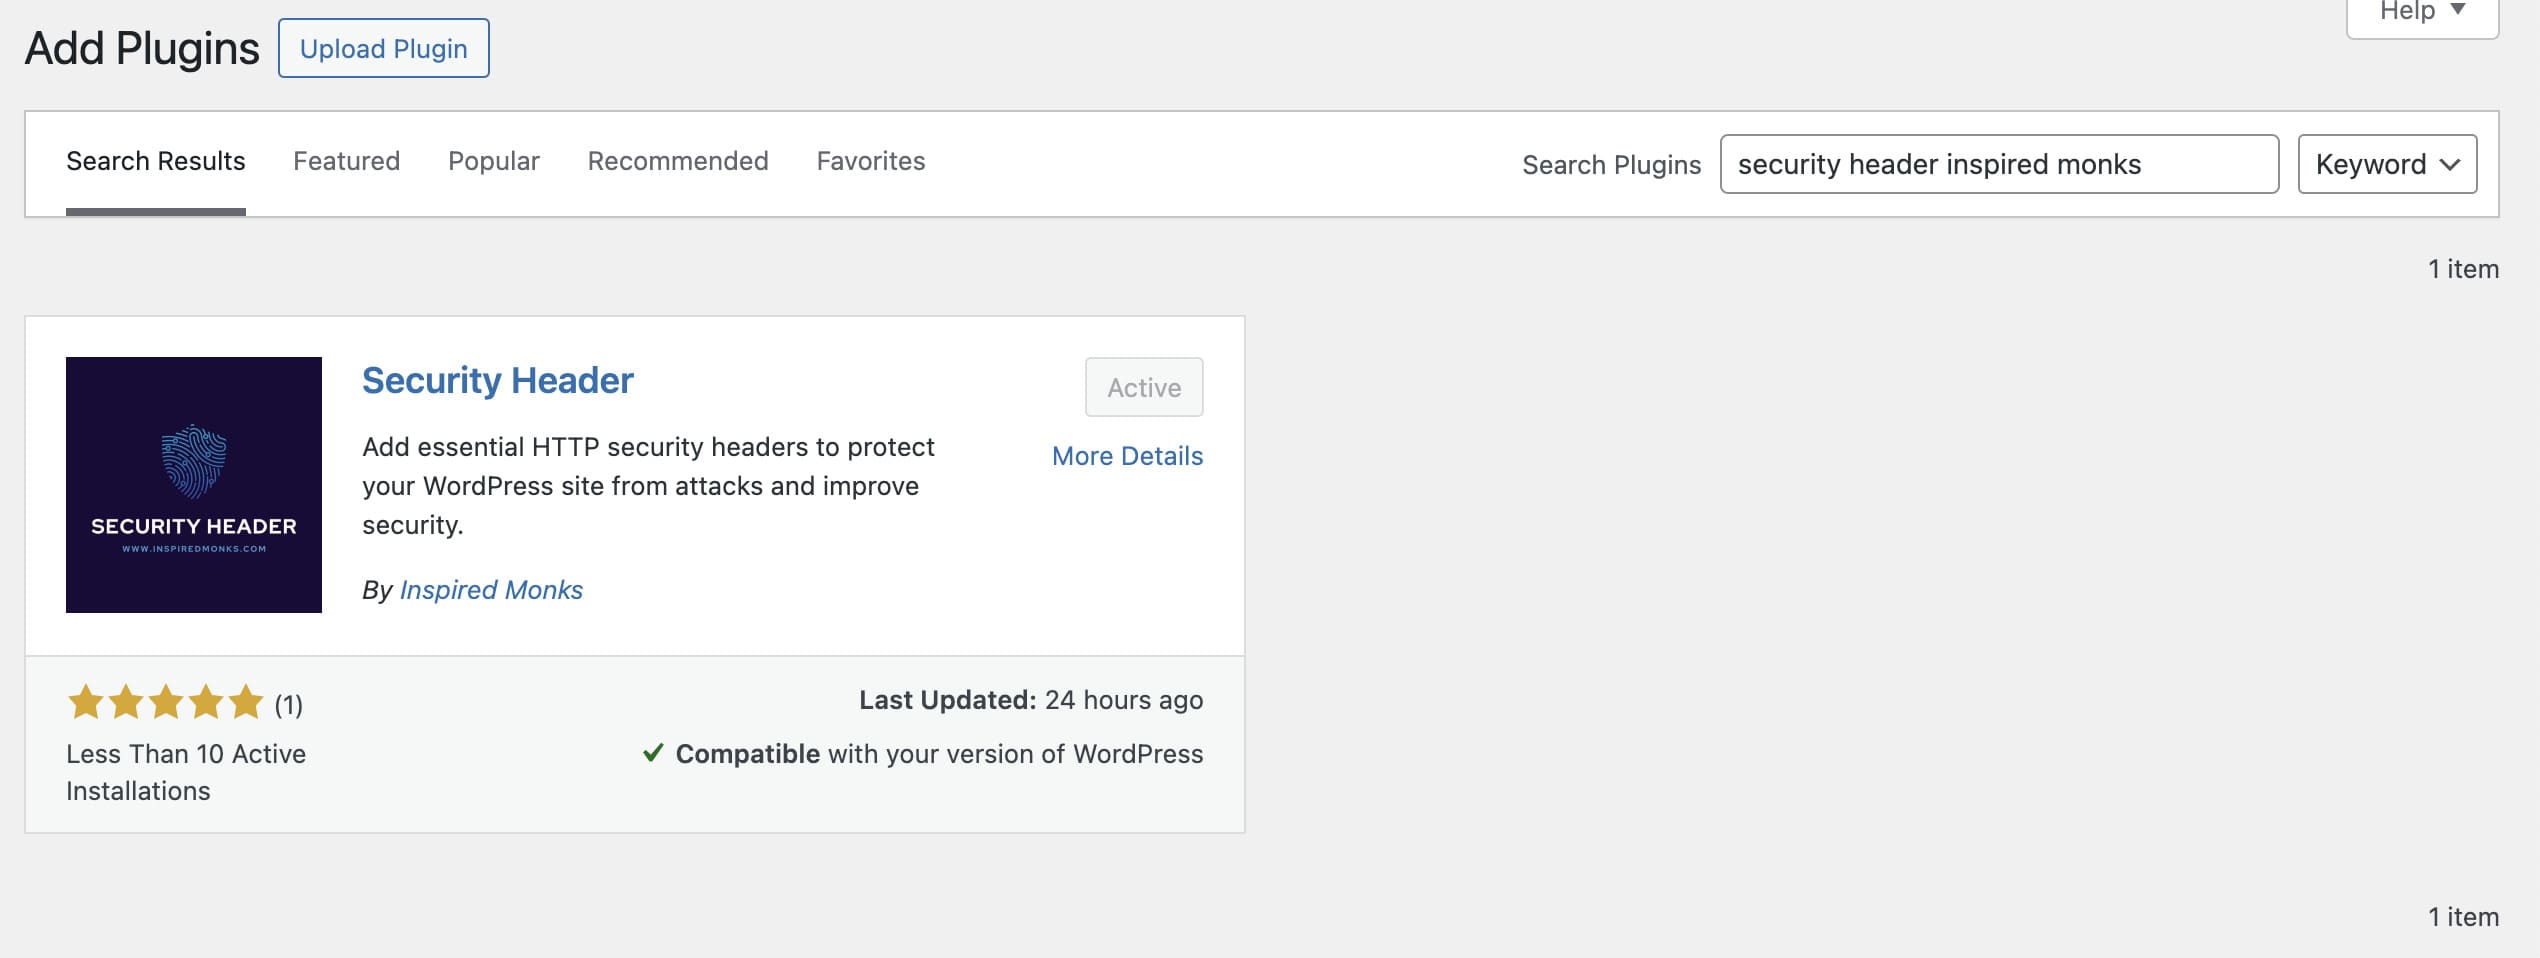
Editing code can be risky and cumbersome, especially for non-technical users. That’s where our Security Header plugin comes in. It’s a simple and efficient way to add security headers without touching any code.
Why Use the Security Headers Plugin?
The Security Header plugin by Inspired Monks offers an intuitive interface for managing your security headers:
- Ease of Use: Enable or disable essential security headers with a simple toggle in the WordPress admin panel.
- Comprehensive Coverage: Supports all major security headers to safeguard your website.
- No Coding Required: Perfect for beginners and non-technical users.
Key Features of Security Header Plugin:
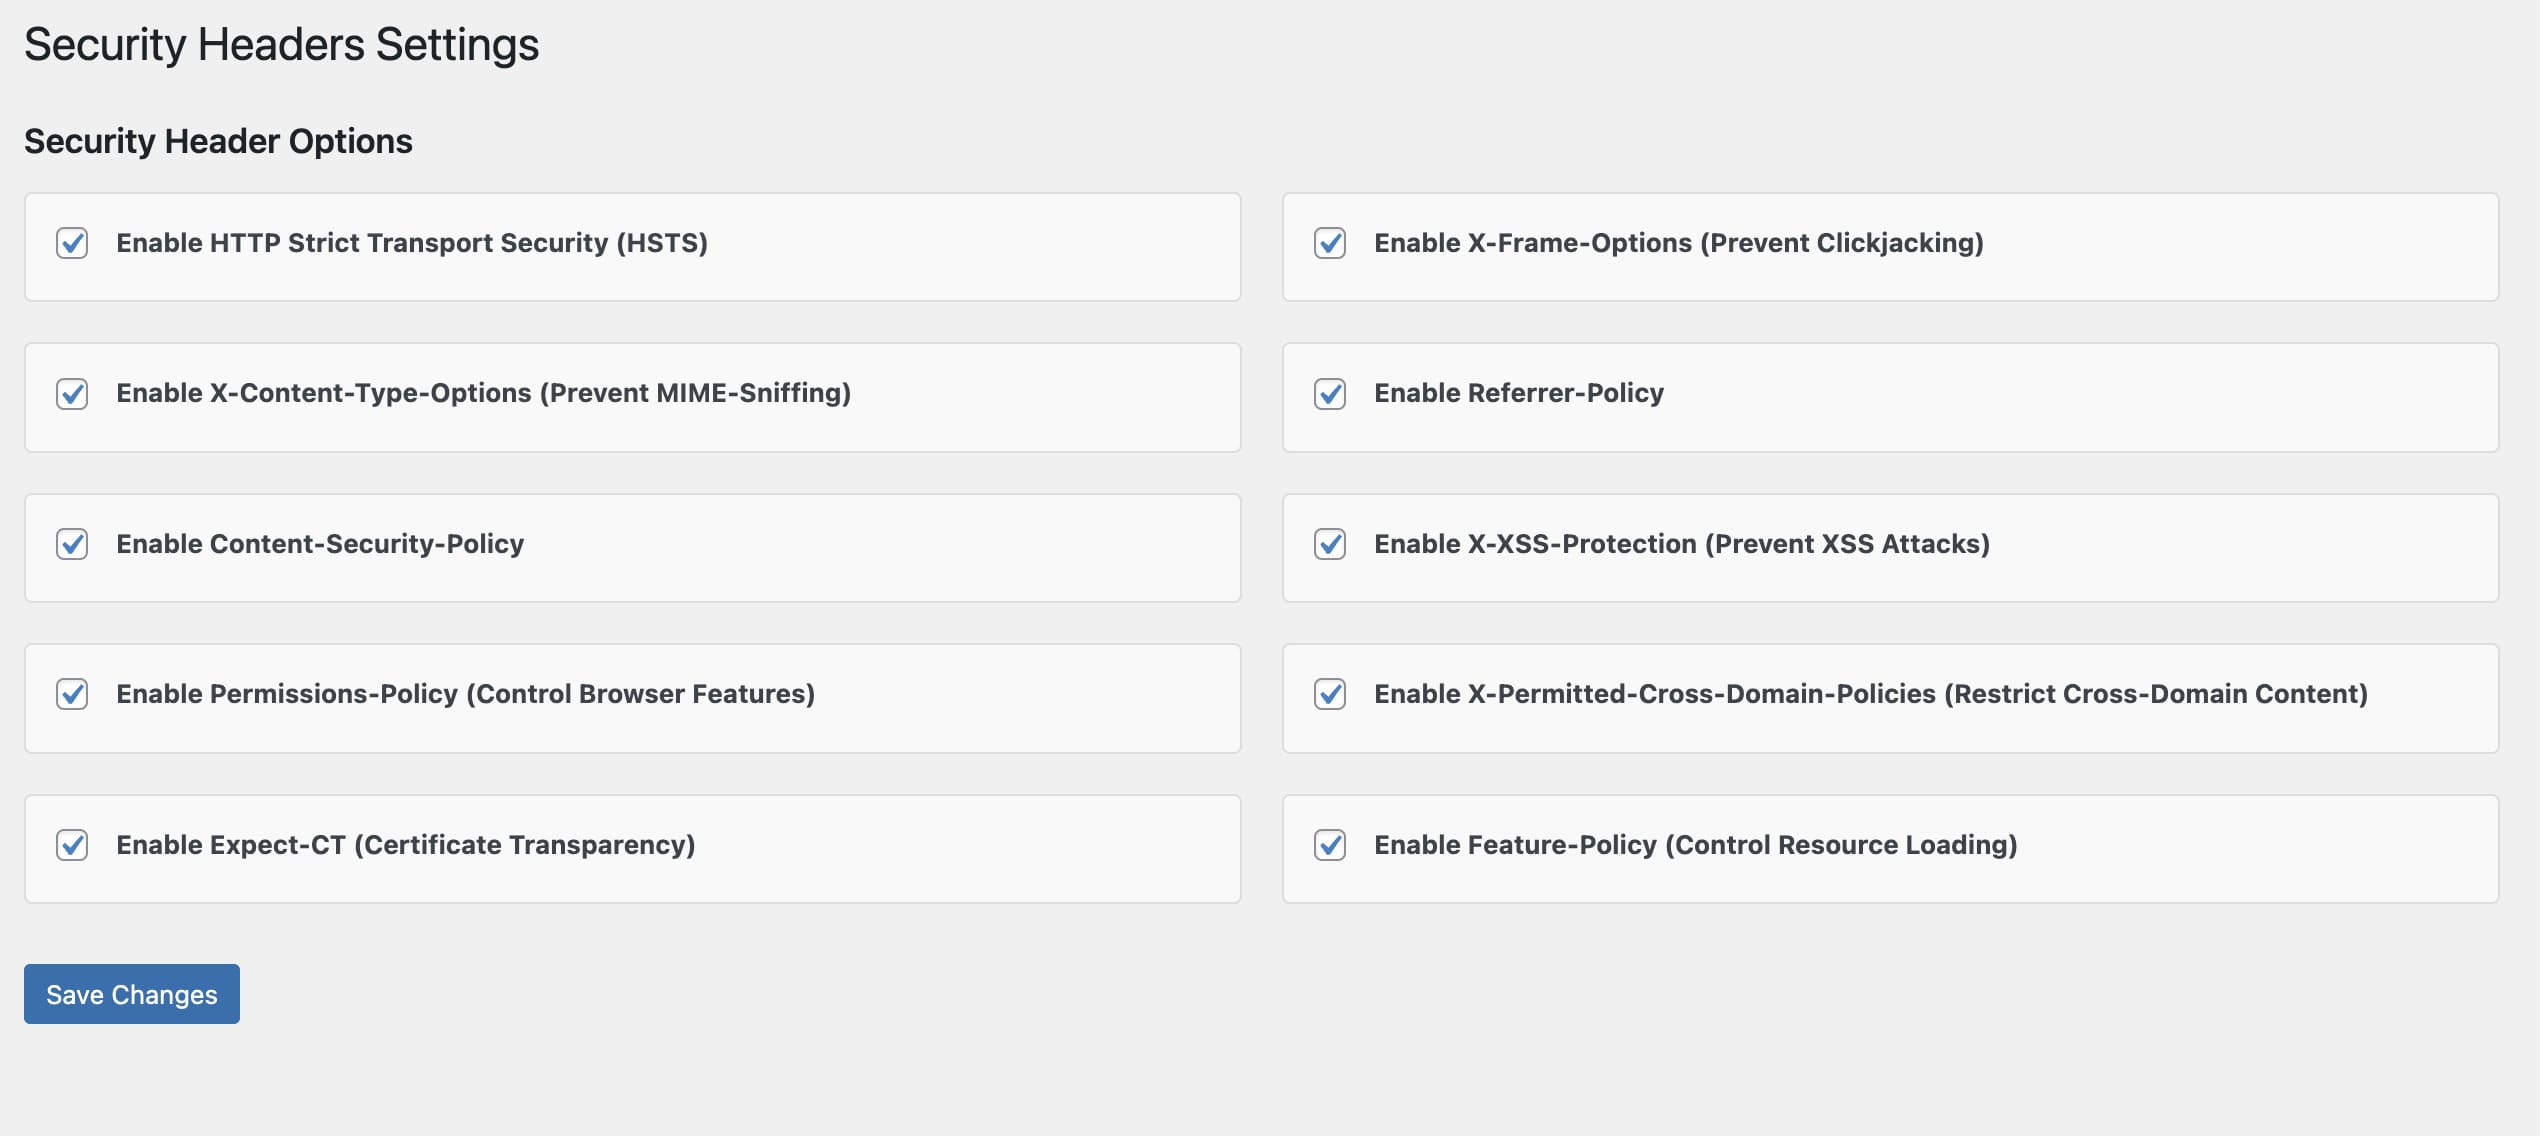
- HTTP Strict Transport Security (HSTS)
- X-Frame-Options (Clickjacking protection)
- X-Content-Type-Options (Prevents MIME-type sniffing)
- Referrer-Policy (Controls referrer information)
- Content-Security-Policy (Mitigates XSS and other attacks)
- X-XSS-Protection (Cross-Site Scripting protection)
- Permissions-Policy (Controls browser features)
- X-Permitted-Cross-Domain-Policies (Restricts cross-domain sharing)
- Expect-CT (Enforces certificate transparency)
- Feature-Policy (Controls resource loading)
How to Use the Security Header Plugin?
- Install and activate the Security Header plugin from the WordPress plugin repository.
- Navigate to Settings > Security Header in your WordPress dashboard.
- Toggle the headers you want to enable and save your settings.


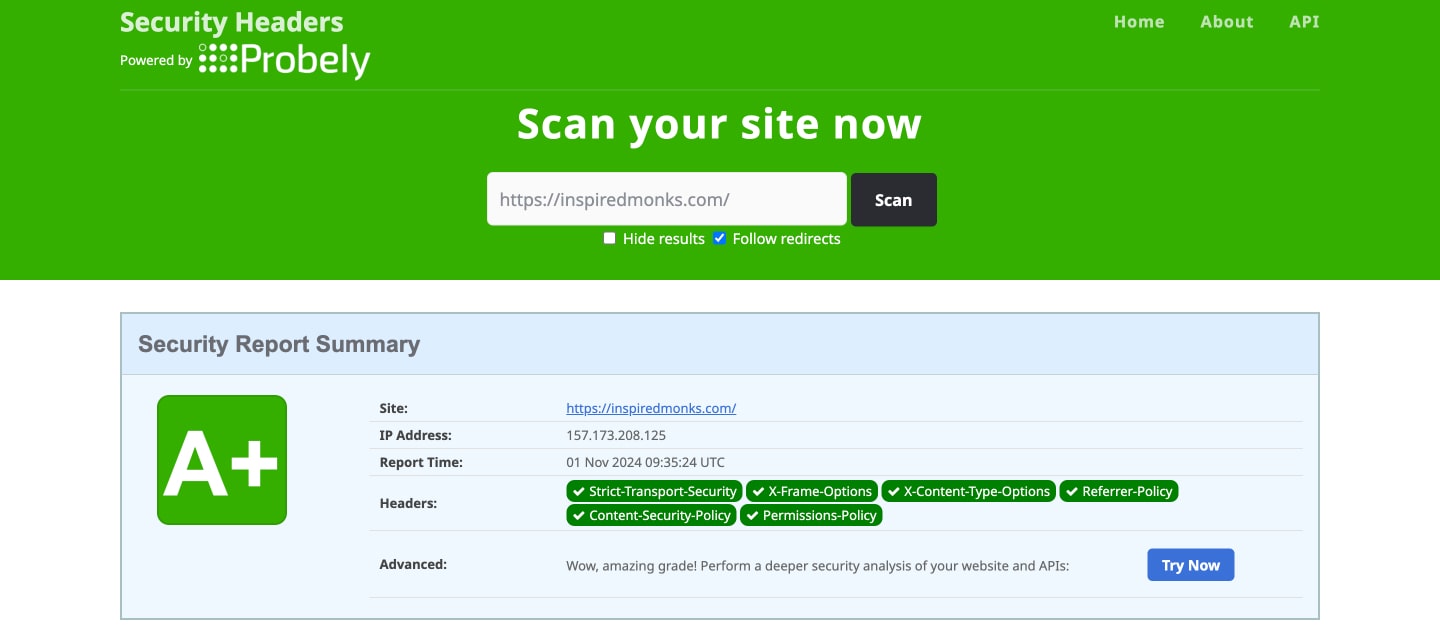
This simple setup will automatically secure your website against common vulnerabilities without any manual code adjustments.

Conclusion
Protecting your WordPress site from cyber threats is a necessity, and adding HTTP security headers is a great step forward. While coding methods are available for advanced users, using the Security Header plugin by Inspired Monks makes the process hassle-free. For more details and advanced security tips, check out more on Security Headers.
Stay secure, and don’t hesitate to reach out if you need assistance or have any questions!
